The pool resurfacing process in nine stages
The pool resurfacing process follows a common order across the sources, though products differ and the contractor decides the method. The table gives the order. The sections after it explain the stages that matter most. None of it is a guide to doing the work yourself. We are a referral service, and the contractor carries out the work and is responsible for any licence or certificate that applies.
| Stage | What sources describe | Ask the contractor |
|---|---|---|
| 1. Assess | Surface, structure, tiles and equipment are looked at first, per one publisher's guide. | What will you check, and what will you report back? |
| 2. Drain | The pool is emptied with groundwater pressure precautions. | How is groundwater pressure managed, and where does the water go? |
| 3. Remove and prepare | Old finish is brushed, chiselled or broken out where needed, chalky material is removed and the surface is cleaned. | How much comes off, and how is dust controlled? |
| 4. Sound and repair | The surface is tapped and drummy areas are repaired first. | How are hollow areas found and handled? |
| 5. Etch and neutralise | Manufacturer guides call for acid etching, then neutralising with bicarbonate of soda. Methods are product-specific. | What is used, and where does the wash water go? |
| 6. Moisture check | One epoxy guide asks for moisture below 5 per cent, checked by hygrometer or plastic-sheet test. | How do you check the surface is dry? |
| 7. Primer and coats | Primer or sealer, then coats to a stated thickness. | Which product, how many coats, and where is the data sheet? |
| 8. Cure and fill | A drying or curing period, then filling. | What does the data sheet say about timing? |
| 9. Start up | Brushing, cleaner restrictions and chemistry steps, set by the product. | Can I have the start-up instructions in writing? |
Assessment and draining
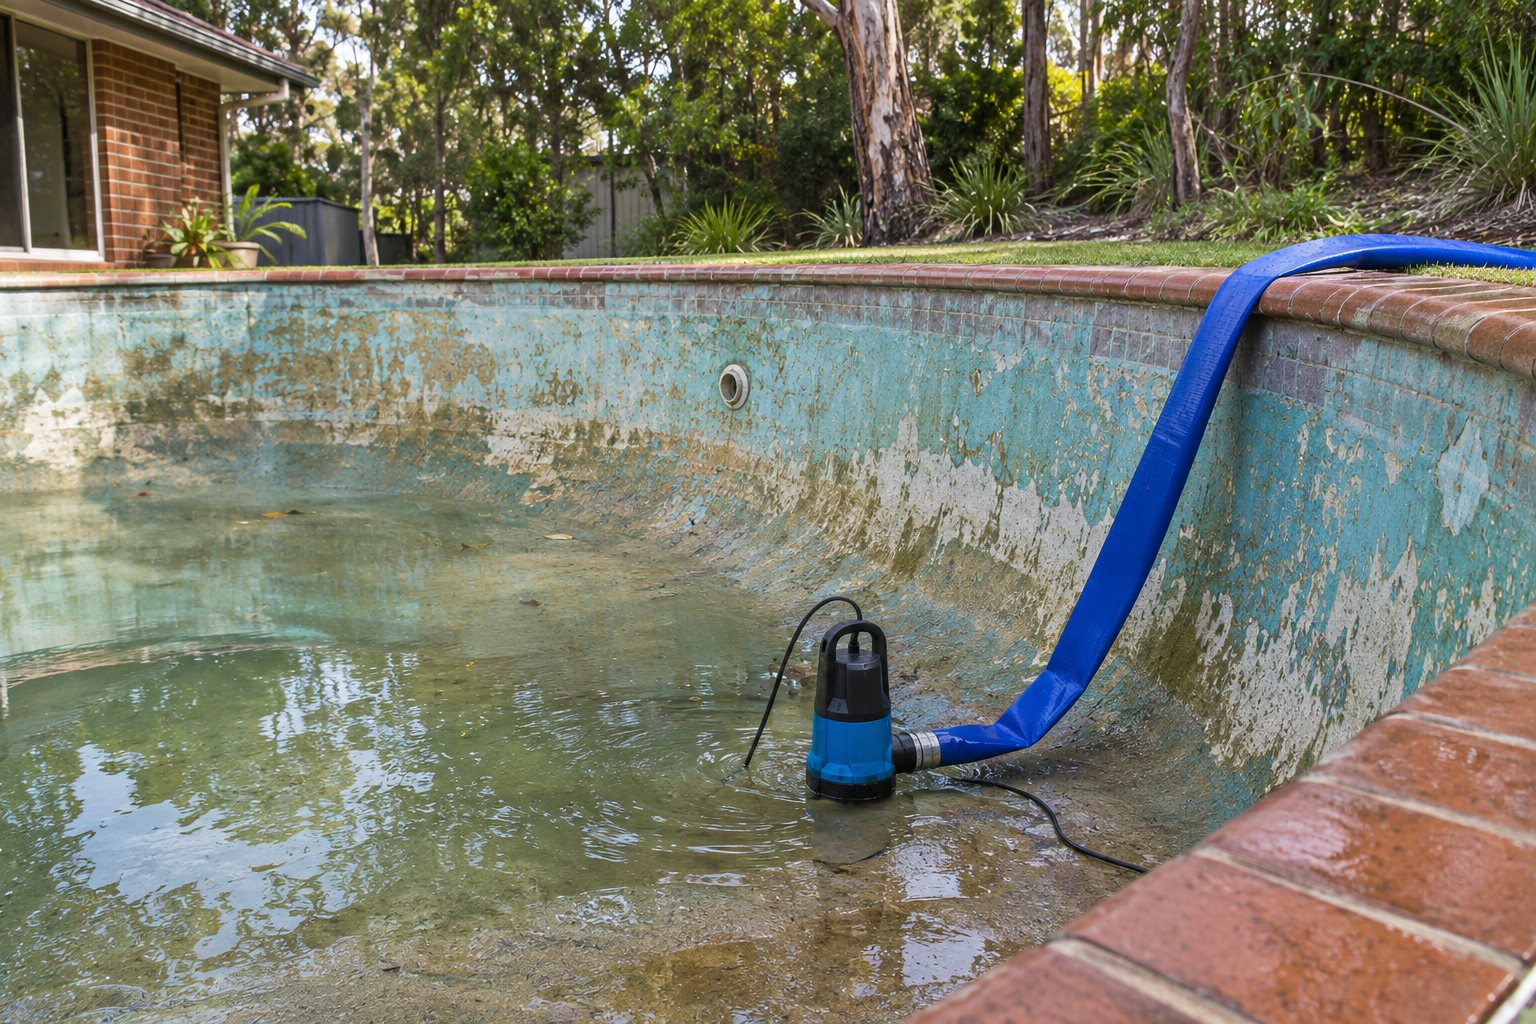
A contractor looks at the surface, the structure, the tiles and the equipment before pricing, because a problem in any of them changes the job. Draining comes next. One publisher's guide describes draining with hydrostatic pressure precautions, and a trade magazine article treats the hydrostatic valve in the main drain as part of the draining step. We found no neutral Australian source on pool flotation or groundwater pressure, and none for the Coffs Coast. Ask the contractor how they manage groundwater pressure when the pool is emptied.
Where the water goes is a council matter. Pool water, backwash and slurry should not go to the stormwater drain, and councils and sewer authorities set their own rules for emptying a pool. The draining, dust and barrier page sets out what we found and what we did not.
Removal, sounding and repair
A trade magazine lists the work: draining, scrubbing with a wire brush, using a chisel, pick or jackhammer where needed, removing all chalky material, cleaning chemically, then an acid coat to remove mineral deposits and a neutralising coat (trade magazine on pool surfaces). For old pools, one South African pool quartz data sheet says to remove all existing plaster back to the original shell (pool quartz data sheet). The trade magazine article on concrete pool interiors says hollow areas must be removed and deep ones filled, and leftover paint or fibreglass ground or blasted off, before new plaster (trade magazine article).
Sounding means tapping the surface to hear hollow areas. One epoxy guide tells the applicator to tap with a notched hammer and to repair soft, crumbly or drummy areas before coating. Grinding, chiselling and blasting create dust. Silica controls are required when cutting or grinding concrete, so ask how dust is controlled.
Etching, moisture, primer and coats
Etching is product-specific. The manufacturer guides call for acid etching and neutralising, and give different mixes, so we publish none. One epoxy guide then asks for a moisture check, with moisture below 5 per cent confirmed by a hygrometer or the plastic-sheet test. After that come the coats. The same guide describes a primer-sealer, a wait, and at least two coats to a stated minimum dry film thickness (epoxy guide for pebblecrete). A separate epoxy coating sheet asks for a minimum of two coats at 150 microns per coat, and three on steps and ledges.
These are examples from two products, not a guide to coats in general. Cement-based finishes such as plaster, render and quartz have their own steps, as the replastering page and the pebblecrete and quartz page explain.
Cure, fill and start-up care
Drying and fill delays vary from product to product. The timing guide sets them out and explains why we give no swim date. Start-up is where products differ most. One plaster industry body's start-up page, which does not state its country and uses imperial units, says to fill in one continuous run and that following the steps in order helps maintain the finish warranty (plaster body's start-up page). A South African pool quartz sheet asks for filling in one continuous operation and no automatic cleaner for three weeks, brushing only. These instructions differ because the systems differ.
Why written start-up instructions matter
Care guides give different chemistry targets for different products. One epoxy care guide, for example, sets targets very different from those a plaster industry body gives, which is why we publish none and why you should not swap instructions between products (epoxy care guide). Warranties often depend on following the start-up instructions. Ask the contractor for the instructions for the exact product, who gives the warranty and what it depends on, and keep both with your records.
Ask which licence or certificate the contractor holds. NSW Government pages list pool surfacing and surface coatings inside the swimming pool repairs and servicing category and say a licence or certificate is needed for that category (NSW swimming pool repairs and servicing page). The licence, contract and warranty page explains what the pages say and what they leave out. If something goes wrong afterwards, the signs guide helps you describe it.
What a process guide cannot do
It cannot tell you how your pool will be resurfaced. Products, shells and contractors differ, and the stages above are assembled from manufacturer guides, a trade magazine and a few publishers, each describing its own system. It gives no chemistry targets, acid mixes or swim dates, because the sources disagree and the right ones belong to the product used.
Ask the contractor for the method statement, the data sheet and the start-up instructions in writing before you agree to the work.
Check the current rules before you rely on this
This page describes the stages of a pool resurface as manufacturers and trade sources describe them, and gives no chemistry targets or swim dates. It describes the rules in general terms as they stood in November 2026. Standards, forms, thresholds and fines change.
The authoritative sources are National Plasters Council, plaster start-up procedure (country not stated, imperial units), Luxapool, general pool care guide for epoxy coated pools (VER1901), Luxapool, epoxy pool coating application guide for Marblesheen and Quartzon surfaces (VER1601), Cemcrete, Pool Quartz data sheet (March 2026, product-specific), Pool and Spa Marketing, best practices for completing concrete pool interiors (trade magazine, 2017, country inferred as Canada) and NSW Government, swimming pool repairs and servicing work (licence page). Where anything here differs from those sources, they are right and we are not.
We are not pool contractors, builders, regulators or lawyers. For what applies to your job, ask the contractor which licence or certificate they hold and check it on the NSW licence check, then ask Building Commission NSW (13 27 00). Ask Coffs Harbour City Council about emptying the pool, registration and the pool barrier, and SafeWork NSW about dust and chemicals.
Accurate at the time of writing, November 2026. Always check the source before relying on it.